
Bedding a rifle is one of those procedures that makes you pucker your bum a little and just hope beyond hope you got everything right… The reality is the process is neither difficult or complicated, just fraught with consequence.
On the front side, it ends up being all about preparation, roughing the surfaces, masking off areas epoxy should not touch, laying out any tools or supplies that will be needed. Once the bedding epoxy is mixed you are on borrowed time, being well prepared ensures you can proceed calmly and meticulously.
On the back side, there are a couple of tools that make the whole thing sail quite smoothly. I would argue the tools topping the list are a good sharp wood chisel and a receiver heaver / action puller / bedding jack / whatever you want to call it.
Even though some form of receiver puller becomes a must-use tool for those that have used one if you do a bit of searching you quickly realize most people who bed a rifle don’t use one. They use some combination of whacking with a hammer, prying, hoping, and praying instead.
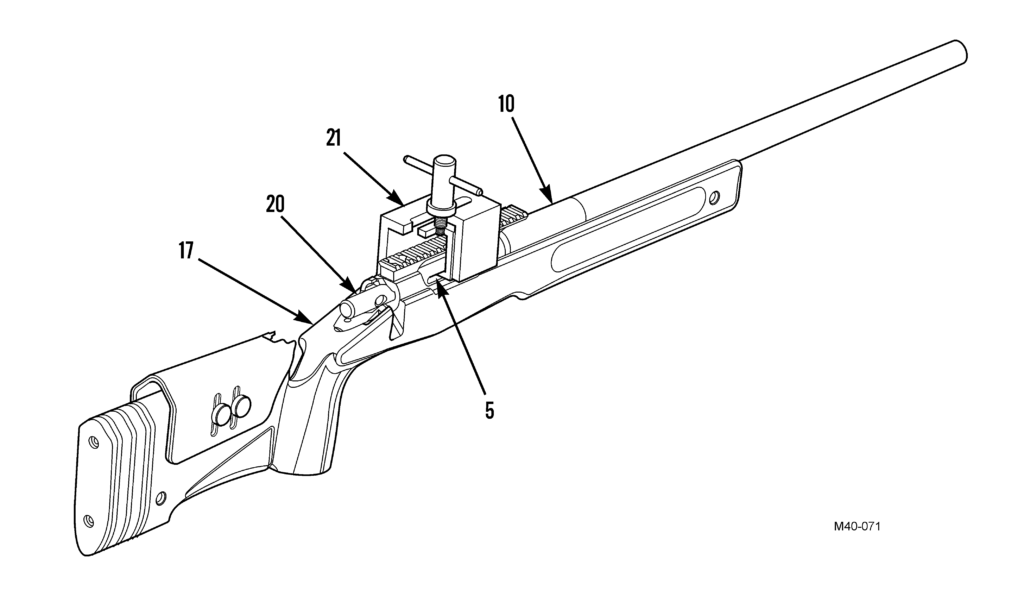
Building an action jack / receiver jack / bedding puller / (I’m sure I can come up with a few more combinations) is a pretty easy affair, often from scrap materials. I will detail a few different variations that can be found online here, along with links to the original sources. The first, obligatory, reference is to the US Marine Corps M40 Maintenance Manual. It shows a simple cutaway diagram of an “action puller” to be used when skim glassing.
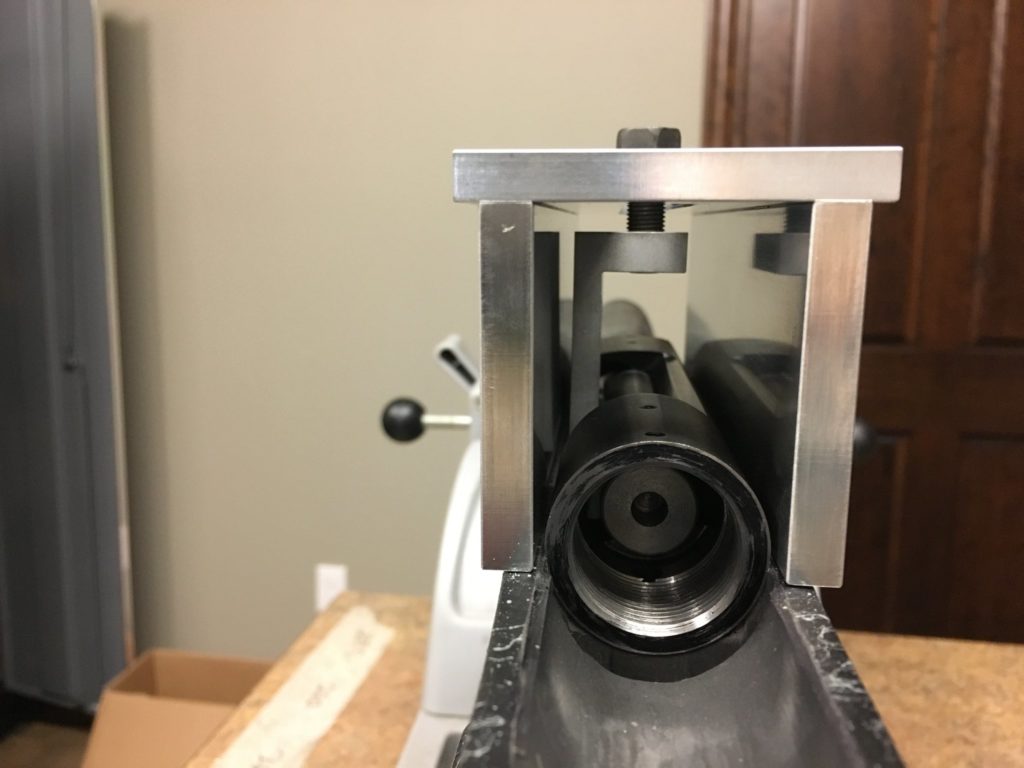
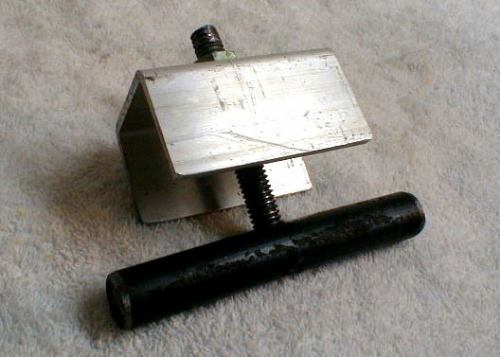
The next is the only commercially available “bedded action puller” that I could find as of the time of this writing. It is built by an outfit called Liberty Precision Machine and is based on the M40 unit, with a feature allowing the puller to be widened to accommodate receivers larger than 1.350″ OD.
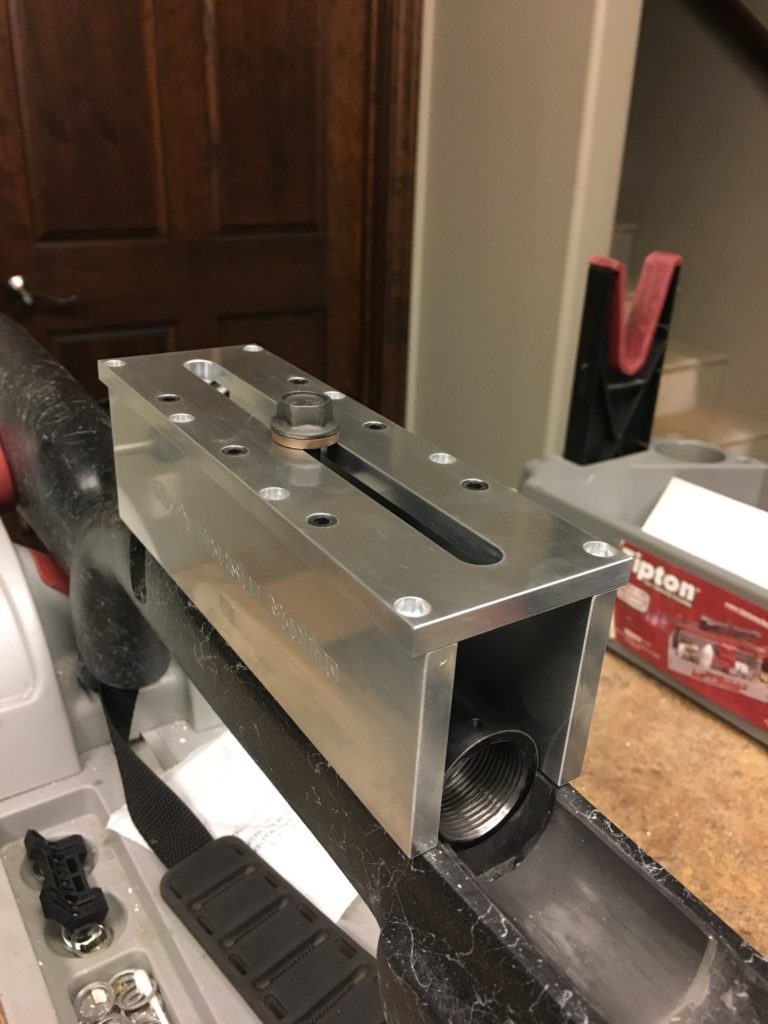
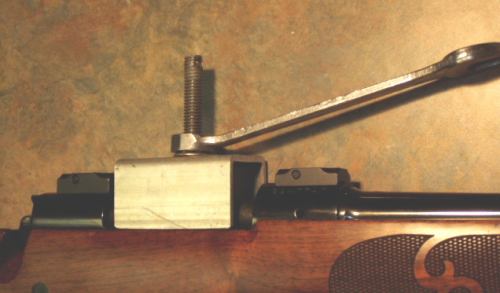
Next is a very similar unit just called an “action puller”, that was the source of a D.I.Y. article for RifleShooter.com. It is also seemingly based on the M40 puller design.
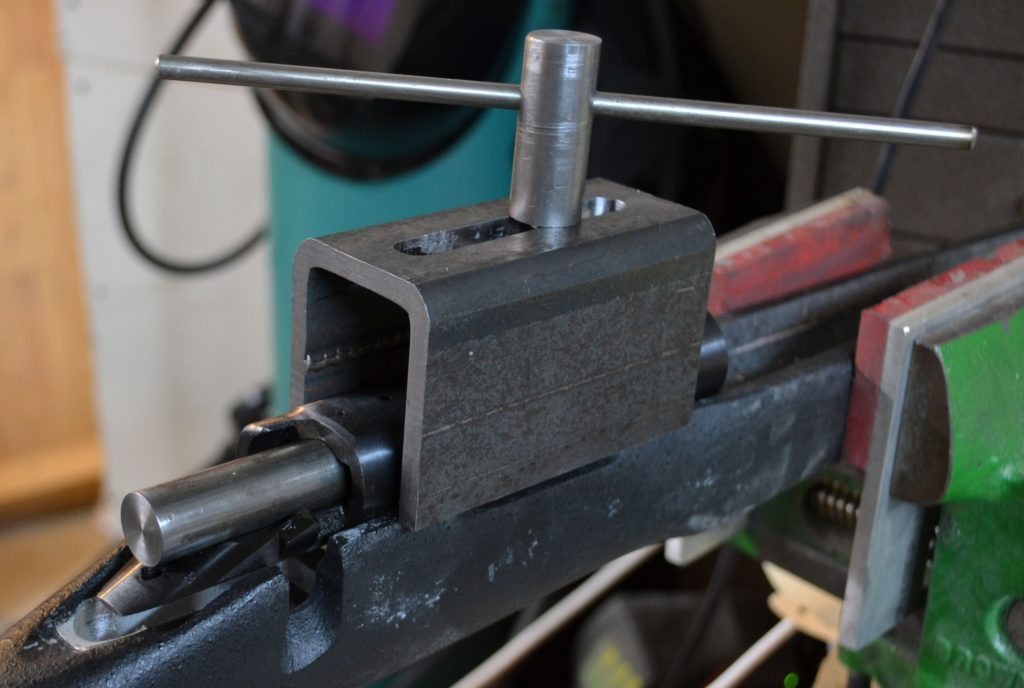
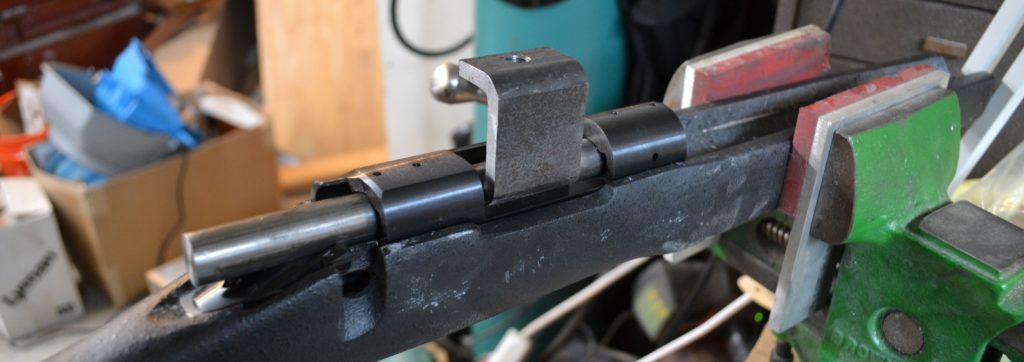
Next is an even more simple puller that is probably no less effective, this one from a post on weldingweb.com. This one also uses a cylinder that sits inside the receiver bore, but without the angled claw of the previous two. While simpler, this design would only work on receivers with an open ejection port design.
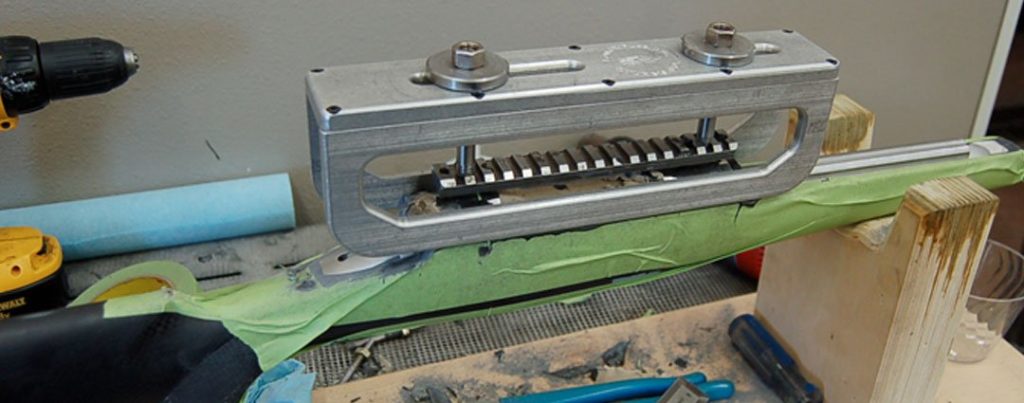
Finally, we have a couple of designs referred to as an “action jack”. These use a modified Picatinny rail or a Picatinny rail adapter to lift a receiver, instead of a rod placed inside the receiver. The first from LongRifles, Inc., and the second from Beanland Custom Rifles.
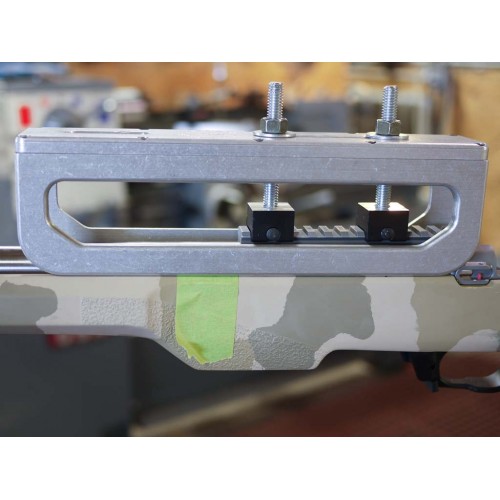
Any of these is a pretty easy project for someone with access to machine tools, and it would be easy enough to cobble something functional together with nothing more than a hacksaw and drill press. But how about another option? With the proliferation of 3d printers, how about a 3d printed “receiver heaver”? It’s probably a better use of that printer you dropped $300 on last Christmas than the 17 different cellphone stands you’ve printed so far.
This is as-yet untested, but I suppose it should work. Feedback / constructive criticism will be incorporated, and I will update this post and the linked files when I try out the design myself.
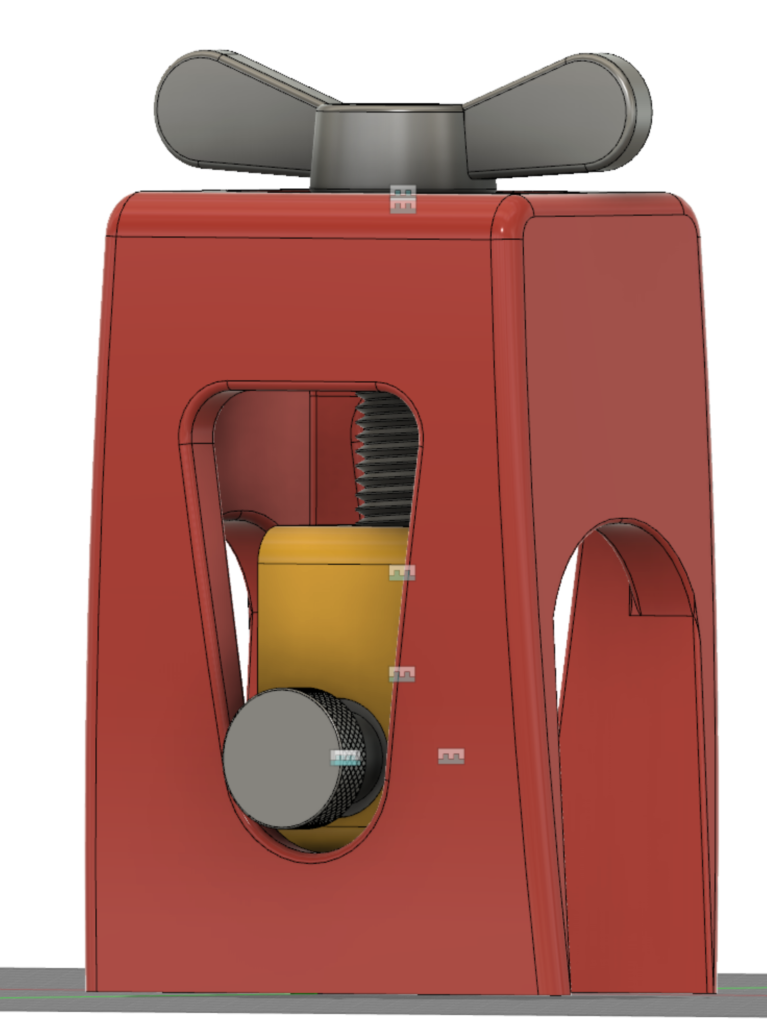
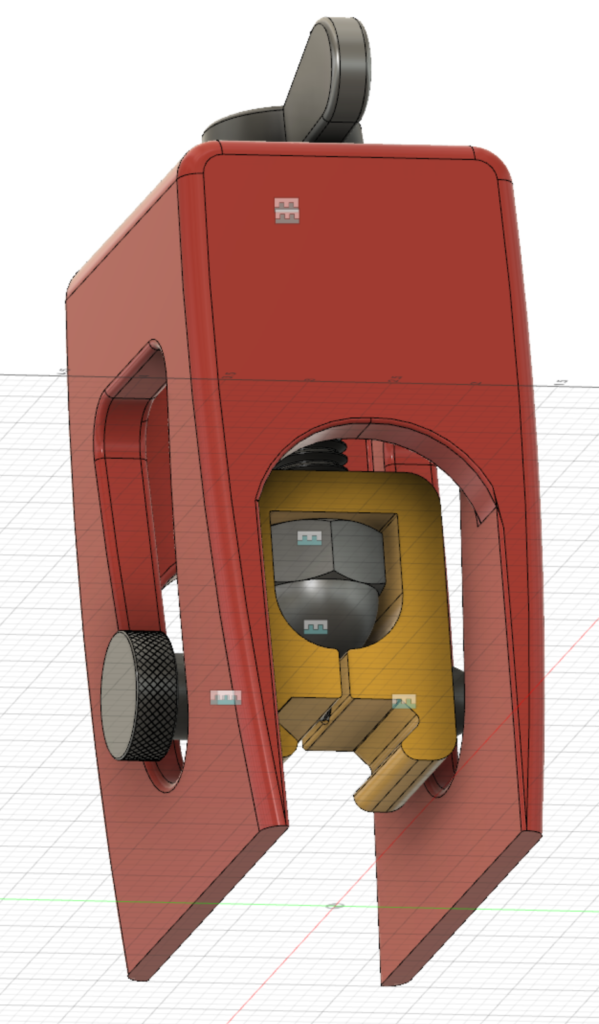
This heaver (puller) is smaller than most of the others you see above, it was intended to be able to fit inside the print volume of a small printer. I would recommend building two and pulling the receiver from directly above or behind the recoil lug. For stubborn removals or to ensure it was pulled perfectly square the second unit could be used toward the rear of the receiver. There is probably enough “flex” in the design to pull a fat body receiver.
The above zip archive contains the Fusion 360 source file (F3Z) as well as STL and STEP files of the two 3d printable parts. A full bill of materials is included for the parts used in the model from McMaster-Carr, although the BOM is pretty fancy-pants and one could be built much more modestly by visiting your local hardware store. Everything is designed around 1/4-20 and 1/2-13 thread sizes.
Print the Picatinny adapter (minor part) on one of the flat sides, and the major part upside down. Again, this is untested. As-is. No warranty. Your mileage may vary. Enjoy.
These parts can also be ordered printed starting from $20-30, check out the Order This Printed option on the Thingiverse listing.